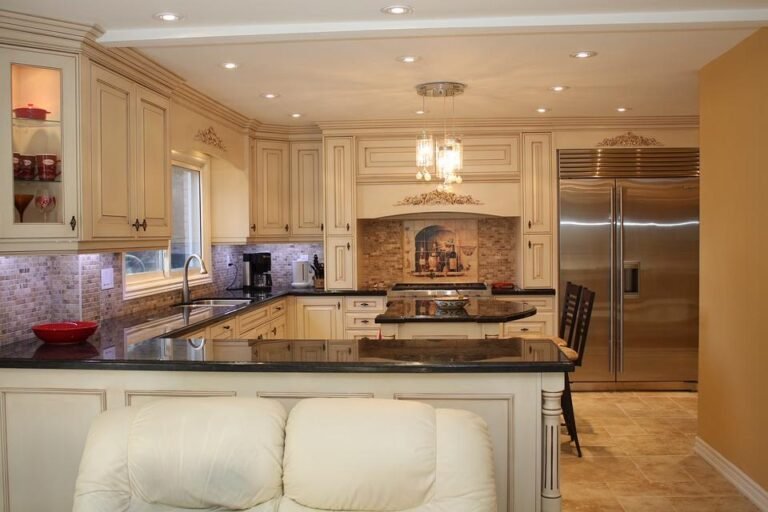







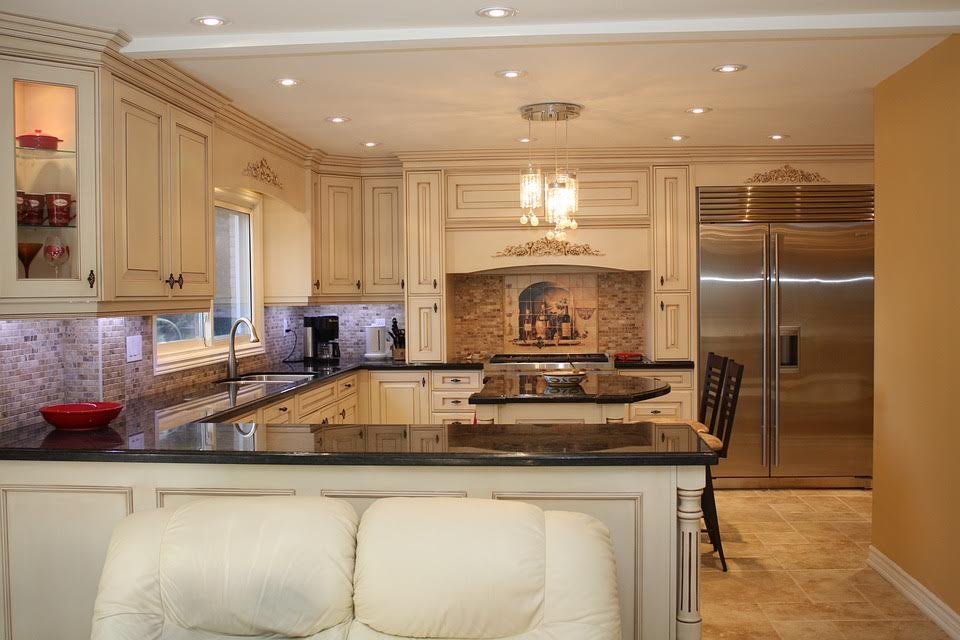
High gloss paint for cabinets transforms tired views into refined surfaces. It reflects light, and it defines clean lines across every door and drawer. Cabinets carry visual weight in a room, so their finish shapes the space, and high gloss paint delivers a polished result.
Surface Preparation Steps
Preparation determines the quality of your final finish. Clean each surface thoroughly, and remove grease, dust, and residue before you begin using high gloss paint for cabinets. Cabinets often hide buildup along edges and handles, so inspect them closely and sand lightly to make sure there is good adhesion. Fill any dents. Prime the surface so the color settles evenly and the coat holds firm. Choosing the right primer matters. Let it dry fully before moving on. Sanding between stages also improves adhesion. After priming, use fine-grit sandpaper to smooth raised grain or brush marks. Wipe the surface clean with a tack cloth. This step removes small imperfections, so the high-gloss finish has a flawless base to settle on.
Take your time here, and the results will show. Hardware requires attention too. Remove knobs and hinges, and label each piece for reassembly. This step seems tedious, yet it protects your finish, and it keeps the paint line crisp where doors meet the frame. Store hardware in labeled bags since nothing should get misplaced during the project. Small parts are easy to lose, and missing pieces slow down reassembly. Keep them in a single container. Set it aside in a safe spot until the paint has fully cured.
Paint Application Techniques
Keep these techniques in mind before you begin:
- Use a foam roller for flat panels and a small angled brush for corners and edges.
- Work in one direction and maintain a wet edge to prevent visible lap marks.
- Apply thin coats; they dry cleaner and resist drips on vertical panels.
- Start with recessed areas and inner edges before moving to flat panels.
- Lay cabinet doors flat on sawhorses for better control and fewer runs
Because tool selection affects your result, find the right ones. For tight corners and edges, use a small angled brush, and blend it carefully into the rolled sections. Keep both tools clean between coats, and replace foam rollers if they begin to shed. Your environment matters during application. Paint in a well-lit space so you can spot missed areas and uneven coverage. Dust and debris settle into wet gloss paint quickly, so close windows and work in a low-traffic area. Start with the recessed areas and inner edges before moving to flat panels. This order prevents overlap marks, and it keeps your wet edge active across the surface.
Finish Maintenance and Care
Maintenance preserves the finish for years. Wipe cabinets with a soft cloth, and use a mild cleaner rather than an abrasive one. Avoid harsh scrubbing. A gentle routine protects the paint without dulling its sheen. Mix a small amount of dish soap with warm water, and apply it with a microfiber cloth. Rinse the surface with a clean, damp cloth, and follow with a dry one. Pay attention to areas near the stove and sink. Wipe spills as soon as they happen, and dry the surface immediately after. Small repairs extend the finish. Since you should touch up chips early, store leftover paint for future matching.
Use High Gloss Paint for Cabinets
Gather your supplies, and plan each stage before you lift a brush. High-gloss paint offers a lasting, refined finish for any cabinet. Preparation, application, and maintenance work together, so follow each step in order, and your cabinets will hold their polish. Begin your project today.